Admit it: You’ve always wanted to learn how to weld. This easy project will teach you how.
![]()
Time
![]()
Complexity
![]()
Cost
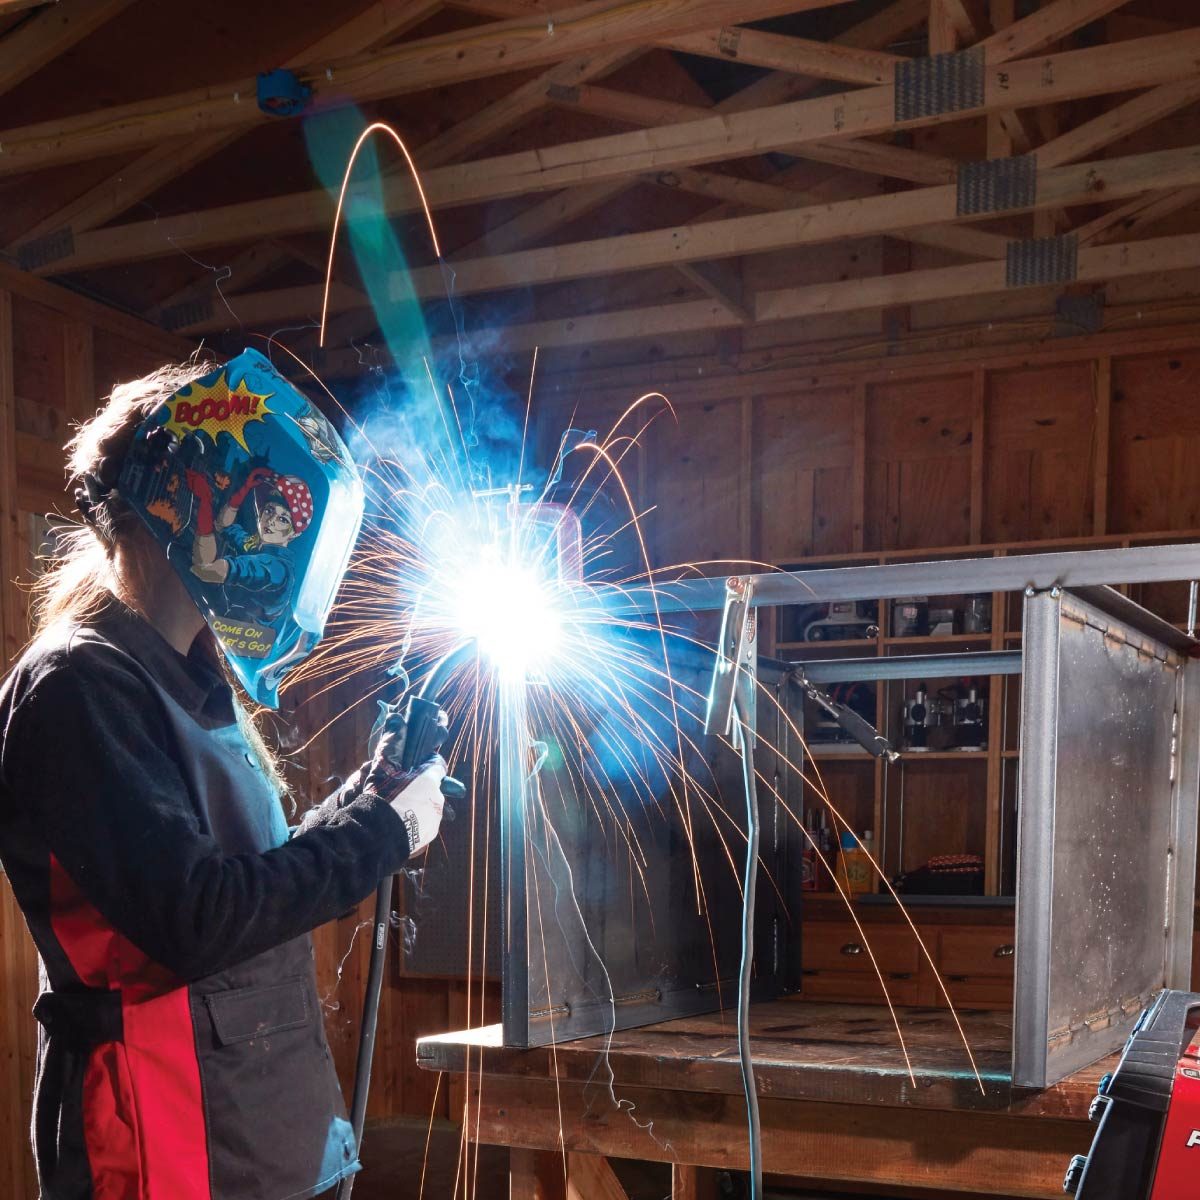
Welding intimidates a lot of people, even some of us hard-core DIYers. And that’s a shame because welding opens up a whole new world of household repairs and cool projects. We asked a pro welder to demonstrate some basic techniques by building a welding table. She’ll walk you through each step and provide helpful tips along the way.
A metal welding table is the perfect project to start with because you can build all your future welding projects on it. The materials will cost about $180, and this is one of the best welding table designs we’ve seen!
This table was built using a Lincoln 210MP. This machine can function as a MIG (metal inert gas/wire feed) welder, a TIG (tungsten inert gas) welder and a stick welder, but we used the MIG wire-feed function.

Home centers and hardware stores carry a small variety of sheet metal and common steel stock. The selection and prices are fine for smaller welding jobs, but for larger projects like this table, shop at a metal supplier. Metal suppliers charge up to 50 percent less, and most will be able to cut your sheet metal to exact dimensions.
Each type of welder is different, so read your operator’s manual. Achieving a good weld comes down to combining the right voltage with the proper wire speed, and this requires practice. Fine-tune the settings on the welder by practicing on the same material you plan to work with.
The wire should protrude about 1/2-in. from the gun, and the gun should be about 3/8-in. away from the surface before you pull the trigger. When you’re working on horizontal surfaces with wire-feed welders, you want to push the gun forward. The gas creates a containment-free environment, which improves the welding process. If you pull the gun, it could outpace the gas.
The speed at which you move the gun will also affect how hot the metal gets and how much wire you lay down. One popular welding technique is to move the tip slightly forward and back as you go. Called “whipping,” it helps control your speed, creates good penetration, and results in a narrower bead than you’d get by making tiny circles as you moved along.
The welding process shouldn’t produce snapping or popping noises. If a welder is adjusted properly, you should hear a consistent buzzing or sizzle, like the sound of bacon frying. This all may seem complicated, but in just a few minutes you’ll be creating solid welds.

Fourteen-inch metal-cutting saws like this, outfitted with an abrasive blade, cost $100 to $200. These saws can cut bricks and pavers as well. A large metal-cutting saw with carbide teeth cuts metal like butter and with less burrs, but it will set you back more. Never put a carbide-tooth blade on an abrasive saw because this saw runs at twice the rpm, a speed that could destroy the blade or worse. Miter saws designed to cut wood also spin too fast for metal-cutting blades, and since their motors aren’t sealed, the metal chips and shavings can destroy the motor.
We worked with Heidi Olson, a certified welder in the Minneapolis, Minnesota, area for this project which first appeared in the May 2018 issue of Family Handyman magazine.